Hi Newfoundlander at Heart readers! I'm Ada from Of Woods and Words where I blog about everyday life in Minnesota's Northwoods. I have a DIY spirit and I try to be as sustainable as possible. Today I'm sharing a little about the art of putting up your autumn harvest. You can read more about my gardening exploits here.
Part of why I love autumn so much is because it's harvest season. The planting and the tending of gardens is all well and good, but it's the harvesting of homegrown veggies that I find most satisfying. Nothing bets the sense of accomplishment when you see jars of home-canned food lined up on your pantry shelves or your chest freezer full of homegrown goodies.
If you're lucky enough to grow and harvest your own produce, you certainly don't want your bounty to go to waste. There are three main ways to preserve your harvest so you can enjoy it for months to come: canning, freezing or dehydrating. In the post, I'll discuss each option briefly and hopefully spark an idea or two for some food preservation projects you can tackle yourself this autumn. If you don't have the luxury of growing your own food, you can also use these tips if you like to purchase large quantities of seasonal produce to savor seasonal flavors all year long.
Can It
"Taste a little of the summer, you can taste a little of the summer, my grandma put it all in jars." - Greg Brown
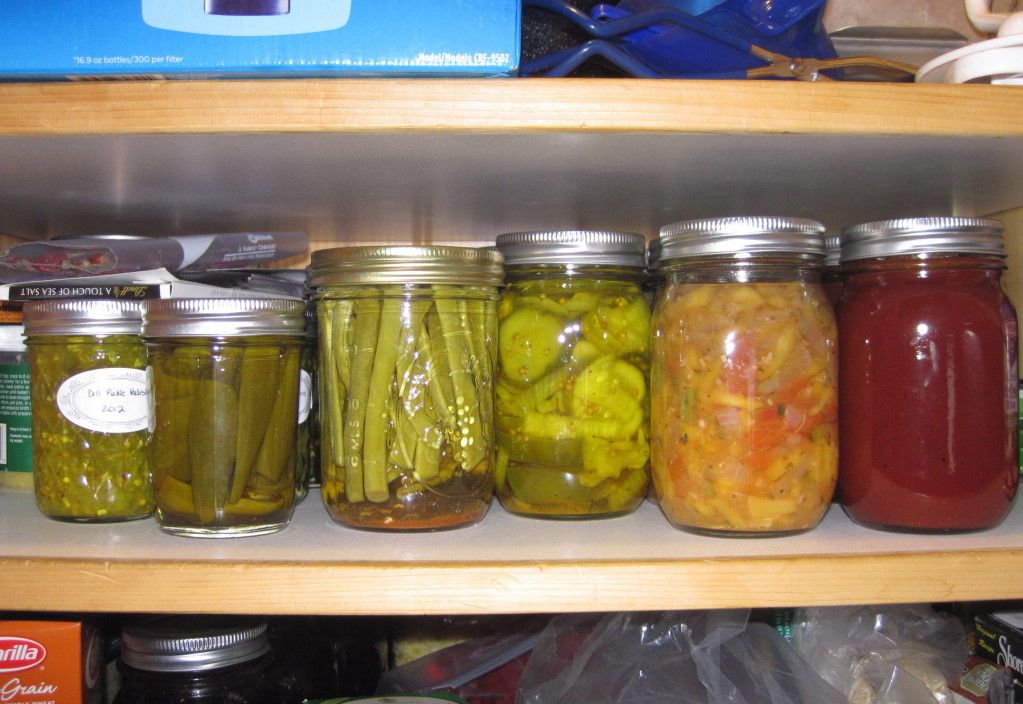
Canning is my favorite way to preserve. To me, canning's a bit like magic - I love that after a trip through boiling water bath, I've created a shelf-stable product that I can use at any time during the year without having to thaw it. Canned goods also make great presents.
Canning does require a bit of equipment (a canner, canning rack, jars, two-piece lids) but the process of canning really isn't complicated and after you tackle a couple canning projects, you'll figure out your own rhythm for the process. This tutorial gives you a great run-down of what hot water bath canning is all about.
I can jams, salsas, pickles, pie filling, applesauce, relishes, and my own homemade BBQ sauce (this recipe, doubled). I haven't ventured into the world of pressure canning yet. Pressure canning is necessary for low-acid foods: meats and most vegetables. Personally, I find it easier to freeze all of our low acid food. It's really all about where you have an excess of space. We have very little shelf space in our cabin, but we have a chest freezer, so I end up freezing more produce than I would if I had limited freezer space.
If you're looking for tasty canning recipes, be sure to check out Marisa McClellan's Food in Jars blog. I've yet to find a clunker of a recipe on there.
Best autumn recipes for canning:
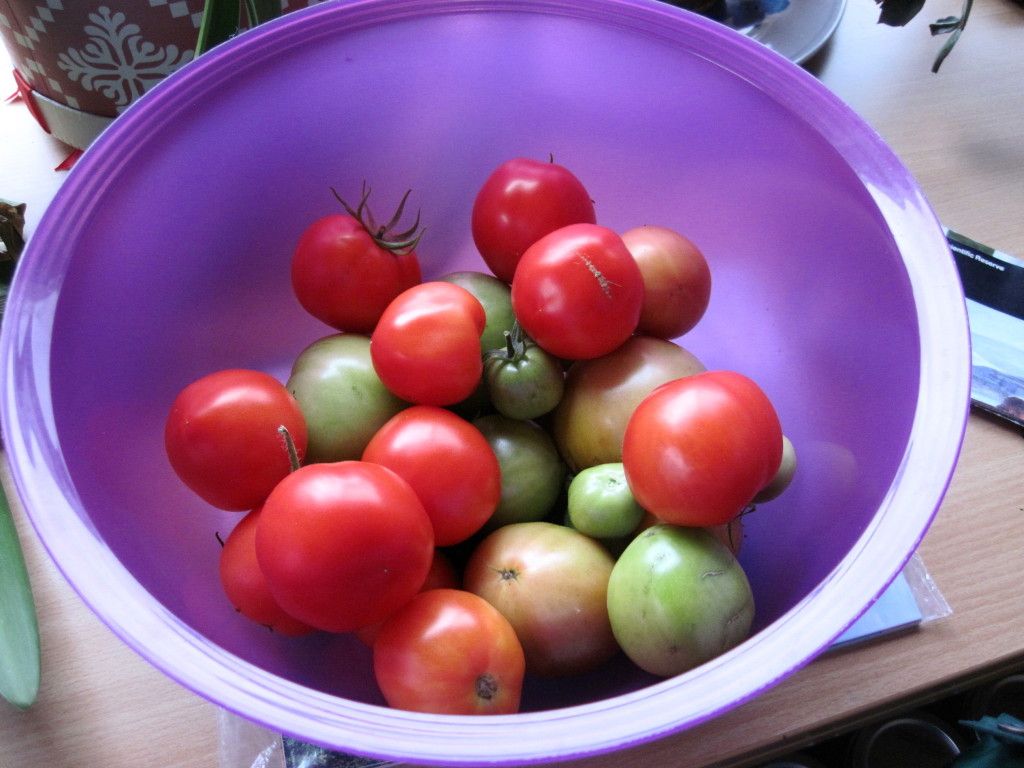
Tomato jam (so good on a bagel with cream cheese and a great way to use up bruised, blemished tomatoes.)
Applesauce
Freeze It
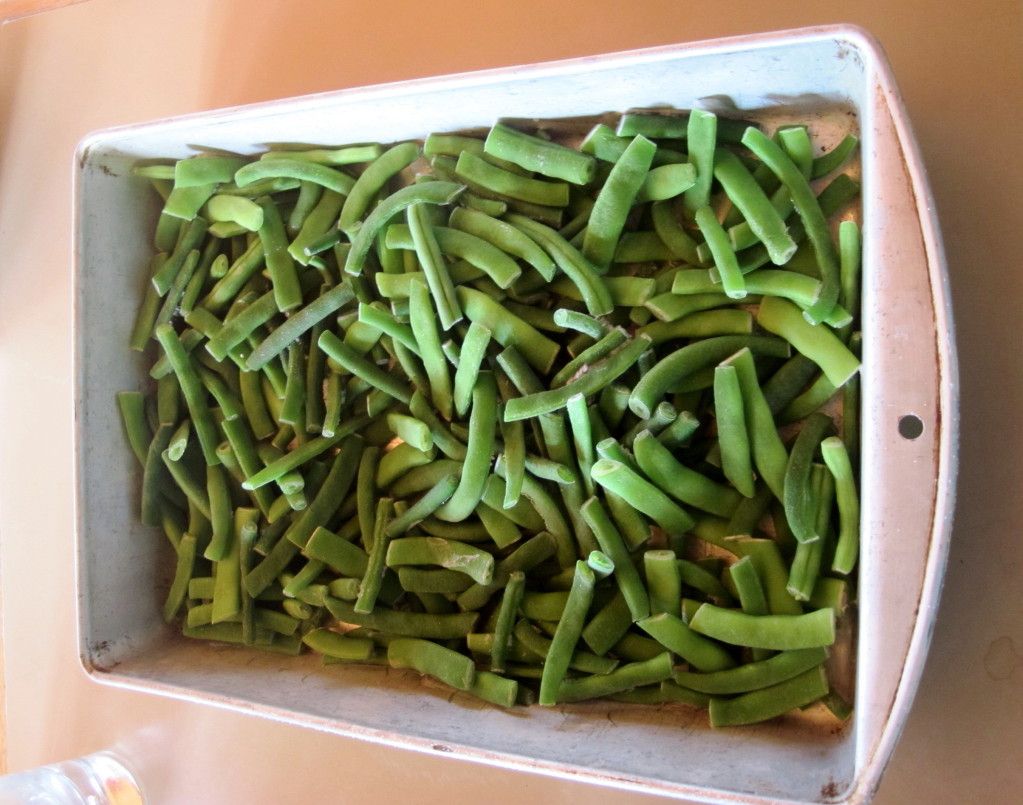
Blanch baby, blanch. I've spent a fair amount of time this fall blanching green beans. Blanching is a pre-freeze treatment that kills off any nasty bacteria and removes dirty from your vegetables before freezing. It's an easy peasy process - wash and chop your vegetables, submerge in boiling water for three minutes, drain, cool completely in ice water (to prevent the vegetables from cooking further), drain, freeze. In addition to green beans, I also blanch cabbage chunks to throw into roasts.
Rather than canning my tomatoes, I prefer to peel my tomatoes (dip in boiling water until the skin pops, then submerge in cold water) and chop them up and freeze them (seeds, juice, chunks and all) in quart-sized bags. I use the tomatoes in marinara sauce and soups. Of course, freezing the tomatoes means you need to plan ahead and thaw out the tomatoes before you're going to use them in a recipe, although I've been known to just throw the whole frozen chunk into boiling pots of soup.
A couple freezing tips:
- First freeze your berries and blanched veggies in a thin layer on a cookie sheet or in a baking pan (like the green beans above), then transfer the frozen beans into a gallon sized bag. By doing this, you'll create less clutter in your freezer by using fewer bags and it's easy for you to measure out a serving.
- I freeze my pesto (I use this recipe) in ice cube trays so I can just pop a cube or two into my pasta.
- Be sure to double wrap any baked goods you put in the freezer so they don't get freezer burn.
- If you're overwhelmed with zucchini, grate it and freeze 1-2 cup portions. You can use it in your baking all winter long.
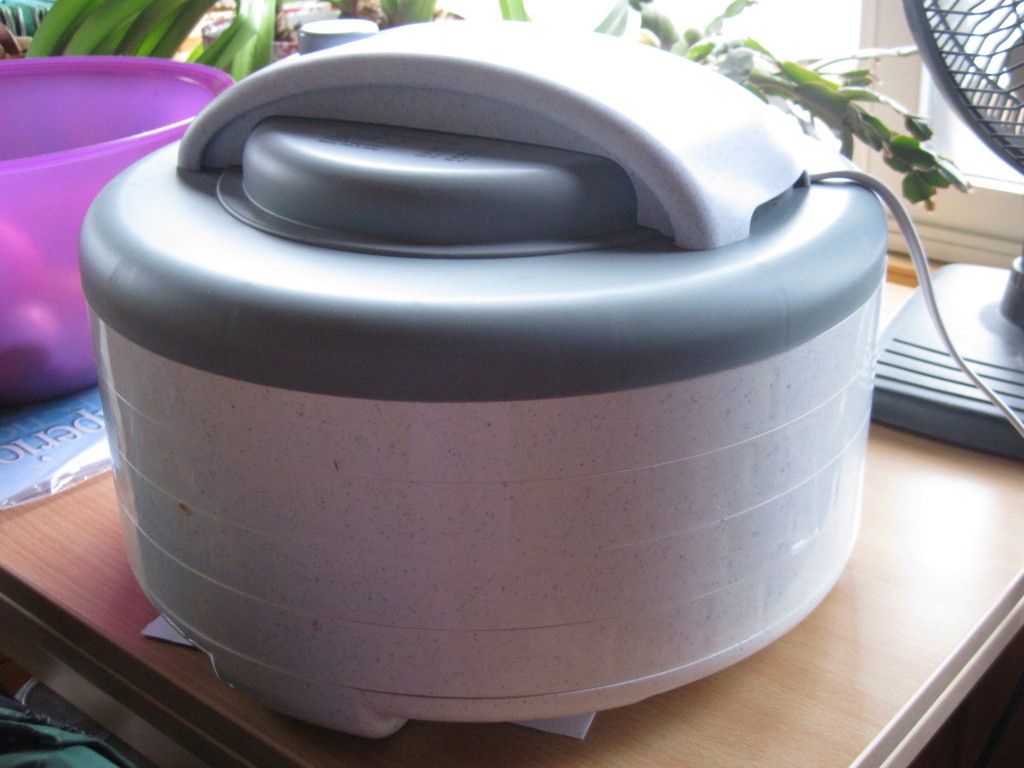
I don't use my dehydrator nearly as much as I thought I would, but it's still a handy tool to have available. I have yet to figure out the perfect dehydrating times for vegetables and fruits though. I always end up making chips!
To date, I've had the most success using the dehydrator to make granola and venison jerky. Last year, I dehydrated a number of zucchinis when I was overwhelmed with our garden's bumper crop. I figured I'd just throw a handful or two of the zucchini "chips" into each batch of chili. We must not have eaten much chili last winter, because I still have a big bag of zucchini chips on my shelf! Which brings us to food preservation rule #1: don't go to the effort of preserving the food unless you know you'll really use it!
If you're getting really serious about "putting up" a bunch of produce, the best guide I've found about preserving food is Ball's Blue Book Guide to Preserving. While the book focuses mainly on canning, it does have brief sections on freezing and dehydrating. I turn to this guide over and over again, both for recipes and general tutorials.
Happy Autumn and Happy Harvest!


No comments:
Post a Comment
Thanks so much for spending some time with me, if you're feeling up to it please leave me a note. I really enjoy them, and take the time to read every single one! :)